A Step-by-Step Guide to DIY Laminate Flooring Installation


Introduction to DIY Laminate Flooring
Laminate flooring is an excellent choice for homeowners looking for durability, aesthetic appeal, and cost-effectiveness. With a range of styles that mimic natural wood or stone, laminate floors can transform any room. The best part? It's entirely possible to install laminate flooring yourself, even if you're not a professional. This guide will walk you through the step-by-step process of DIY laminate flooring installation.

Gather Your Tools and Materials
Before you start, ensure you have all the necessary tools and materials. Here's a list to get you started:
- Laminated flooring planks
- Underlayment
- Measuring tape
- Utility knife
- Jigsaw or circular saw
- Spacers
- Tapping block
- Pull bar
- Rubber mallet
Having everything on hand will make the process smoother and more efficient.
Prepare the Subfloor
Preparation is key to a successful installation. Start by removing any existing flooring and ensuring the subfloor is clean, dry, and level. Use a leveling compound to fill any low spots and sand down high areas. An even subfloor is crucial for preventing future issues with your new laminate flooring.

Install the Underlayment
Underlayment provides a smooth surface for the laminate to rest on and helps reduce noise. Roll out the underlayment across the floor, ensuring there are no gaps or overlaps. Trim any excess material with a utility knife. This step will help prolong the life of your laminate flooring.
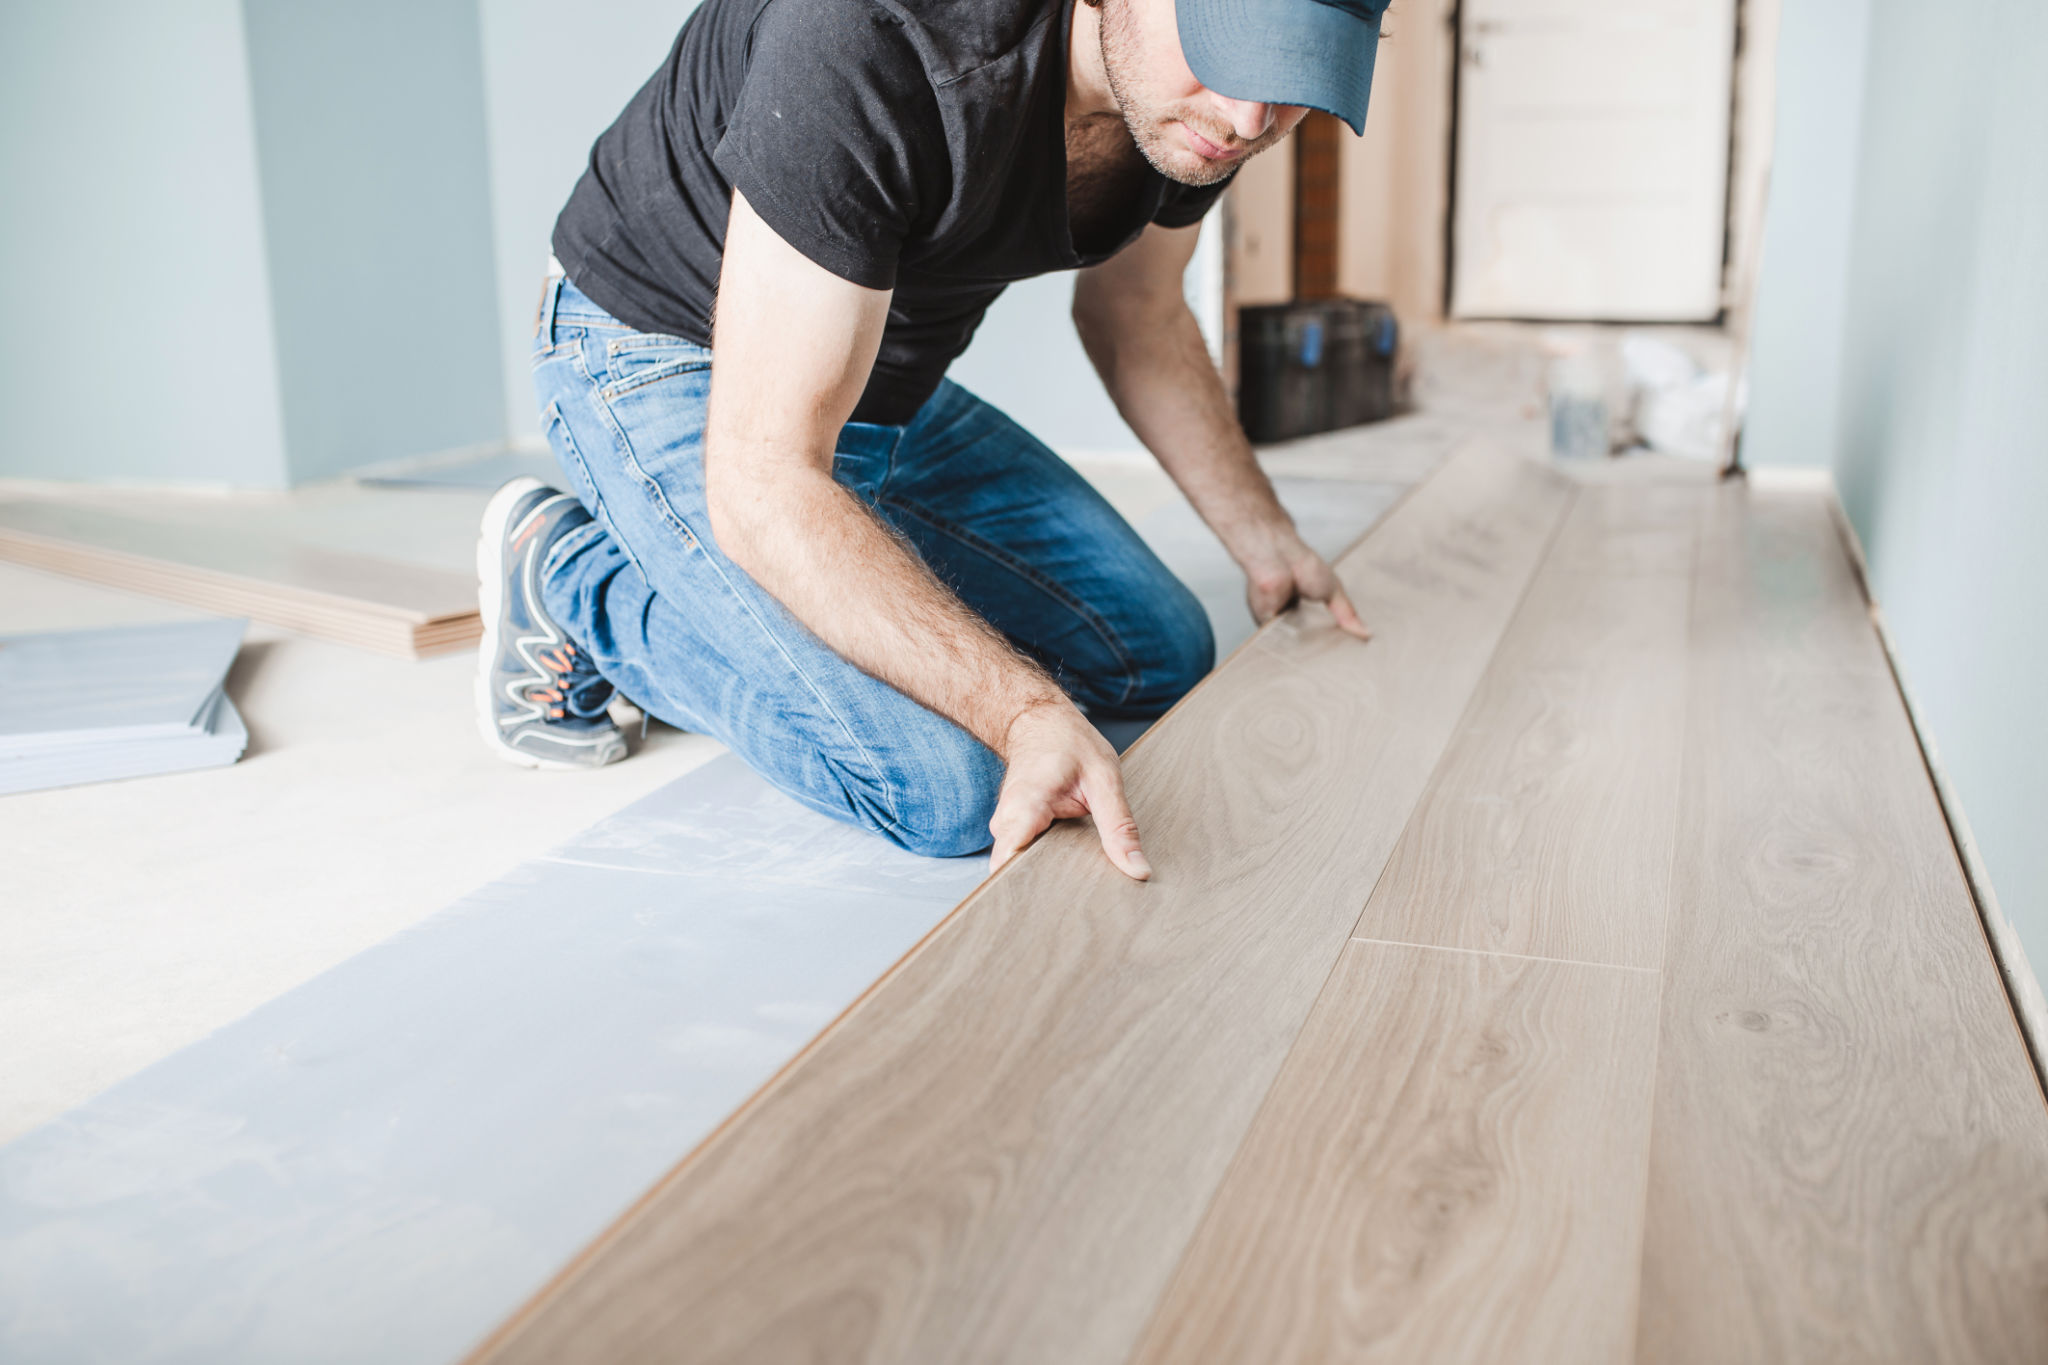
Laying the Laminate Planks
Once the underlayment is in place, it's time to start laying the laminate planks. Begin at one corner of the room, placing spacers between the planks and the wall to allow for expansion. Use a tapping block and rubber mallet to secure each plank into place.
Cutting Planks to Fit
You will need to cut some planks to fit at the ends of rows and around obstacles like doorways or vents. Measure carefully and use a jigsaw or circular saw for precise cuts. Remember to wear safety goggles when cutting planks.
Finishing Touches
After all planks are laid, remove the spacers and install the baseboards or molding to cover expansion gaps. Sweep or vacuum the floor to remove any debris, and your new laminate flooring is ready to enjoy. Regular maintenance will keep it looking new for years. Remember, clean spills immediately to prevent damage.
DIY laminate flooring installation can be a rewarding project that enhances your home's beauty and functionality. With careful planning and attention to detail, you can achieve professional-looking results without the professional price tag.